Shooting Star Time Lapse: Capturing the Magic of the Night Sky
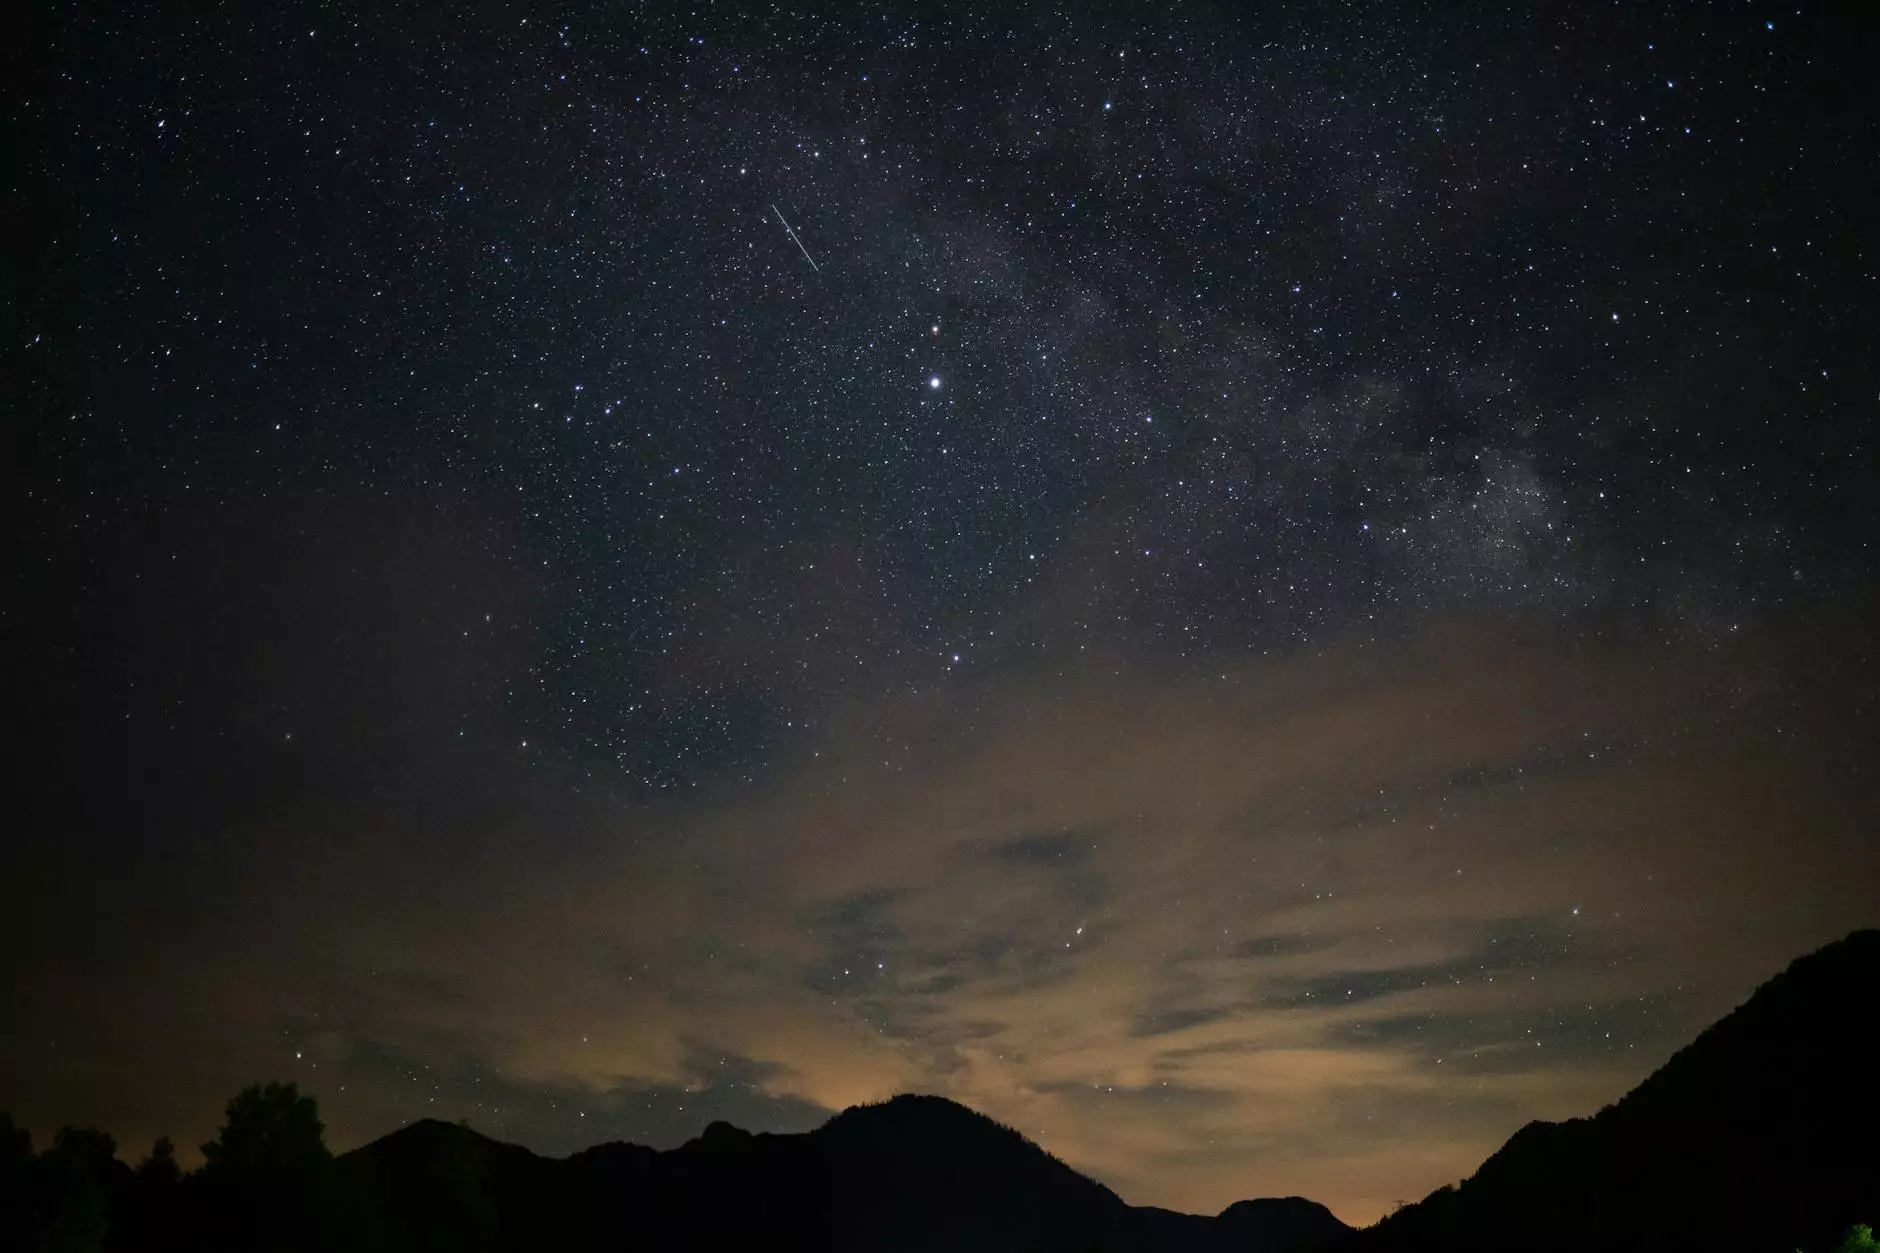
In the realm of photography, few phenomena capture the imagination quite like the beauty of a shooting star time lapse. Combining the ethereal fleeting nature of meteors with the technology of modern cameras, time lapse photography allows us to witness celestial events in a uniquely mesmerizing manner. This article aims to deliver an in-depth exploration of how shooting star time lapse works, the techniques involved, and the essential gear you’ll need to get started.
Understanding Shooting Stars and Time Lapse Photography
Shooting stars, also known as meteors, occur when a meteoroid enters Earth’s atmosphere at high speeds, causing a brilliant streak of light as it burns up due to intense friction. Time lapse photography is a technique that involves capturing a series of photographs at set intervals, which are then played back at a higher speed, creating an accelerated video that reveals changes over time.
The Intersection of Astronomy and Photography
When these two fields collide, the result is stunning visual art. A well-executed shooting star time lapse transports viewers into the night sky, allowing them to experience the grandeur and beauty of celestial events often missed by the naked eye.
Why Create a Shooting Star Time Lapse?
Creating a shooting star time lapse provides various benefits for both amateur and professional photographers:
- Aesthetic Appeal: The shimmering trails of meteors create breathtaking visuals.
- Understanding Celestial Events: It enhances your appreciation of the universe and its phenomena.
- Skill Development: It challenges your photography skills and encourages experimentation.
- Time-Lapse Artistry: Time lapse adds a unique dimension to traditional astrophotography.
Preparing for Your Shooting Star Time Lapse
The key to successful shooting star time lapse photography lies in meticulous preparation. Here are the critical steps to ensure you capture extraordinary footage:
1. Research Meteor Showers
Check astronomy calendars for upcoming meteor showers. Notable meteor showers include:
- Perseid Meteor Shower: Occurs in August and is one of the most popular.
- Geminid Meteor Shower: Happens in December, offering spectacular displays.
- Quadrantid Meteor Shower: Peaks in January and can present impressive activity.
2. Find the Perfect Location
The location is crucial for capturing clear, stunning night skies. Consider the following:
- Away from City Lights: Light pollution can obstruct your view of meteors.
- High Altitude: Elevation can reduce atmospheric interference.
- Clear Skies: Use weather apps to monitor cloud coverage and visibility.
3. Gear Up: Essential Equipment
Having the right equipment can make a significant difference in the quality of your shooting star time lapse:
- Camera: A DSLR or mirrorless camera with manual settings is ideal.
- Lens: A wide-angle lens with a large aperture (f/2.8 or smaller) captures more light.
- Tripod: A sturdy tripod is essential for stable long exposures.
- Intervalometer: This device allows you to set the intervals for taking photos automatically.
- Extra Batteries: Long shoots can drain your battery quickly—come prepared.
Setting Up for Shooting Star Time Lapse
Once you have your gear, it’s time to set up for capturing that perfect shot. Follow these steps for an optimal setup:
1. Camera Settings
Consider the following settings to achieve the best results:
- ISO: Start with an ISO of 1600 to 3200 to ensure sensitivity to light.
- Aperture: Use the widest aperture available (f/2.8 or lower) to allow maximum light.
- Shutter Speed: Experiment with shutter speeds—start with 10-30 seconds.
2. Compose Your Shot
Think about your composition before you start shooting:
- Include interesting foreground elements, such as trees or mountains, for added depth.
- Ensure the camera is pointed at the area of the sky with the highest meteor activity.
- Use the rule of thirds to create a more dynamic composition.
3. Start Shooting
Once everything is set, initiate your intervalometer and start your shooting star time lapse adventure:
- Let the camera run for several hours to capture the most meteors possible.
- Monitor the camera periodically to ensure everything is functioning correctly.
Post-Processing Your Time Lapse Footage
After your shoot, the next step is to process your footage to create a seamless time lapse video:
1. Import Your Photos
Use software like Adobe Lightroom or Photoshop to import and organize your images. Organize them in chronological order to ensure the time lapse flows smoothly.
2. Create the Time Lapse Video
Follow these steps in your chosen video editing software:
- Import Files: Bring your images into the timeline.
- Set Frame Rate: Typically, a frame rate of 24 or 30 frames per second works well.
- Export Your Video: Choose the appropriate settings for your final output resolution and file type.
3. Add Sound and Effects
Consider adding soothing background music or soundscapes to enhance the viewing experience.
Sharing Your Shooting Star Time Lapse
Now that you’ve created a breathtaking video, it’s time to share your art with the world:
- Social Media: Platforms like Instagram, Facebook, and TikTok are ideal for sharing visual content.
- Online Portfolios: Websites like 500px or personal photography websites can showcase your work.
- YouTube: Sharing your time lapse video on YouTube allows a broader audience to appreciate your work.
Final Thoughts
Creating a shooting star time lapse is a rewarding endeavor that combines patience, skill, and creativity. With careful planning and preparation, anyone can capture the beauty of the night sky and produce a stunning visual representation of meteors blazing across the heavens. Embrace the challenges and enjoy the journey of astrophotography!
For more tips, photo gear, and services related to photography, visit bonomotion.com, where we bring your vision to life through quality photography and exceptional service.